First, we were given the skeleton hand from the lecturer, No skeleton.
First, I made the base bone at the wrist of the hand, which was doneby going into the Rigging section of Maya window options, going into skeleton, and going into create joints.

When I make the first joint from wrist to center hand,t hen center hand to middle knuckle, by just clicking the points I want the next joint to appear at. And like any hand, the thumb has the base joint and the middle joint, while every other finger has three joints, to simulate a real lift hand properly.

And to simply start the other fingers, I simply hit the up key to go up in the Skeleton Hierarchy to go back to the center bone, then making the next finger, and so on and so forth, until all the finger bones are created in the rough spot.

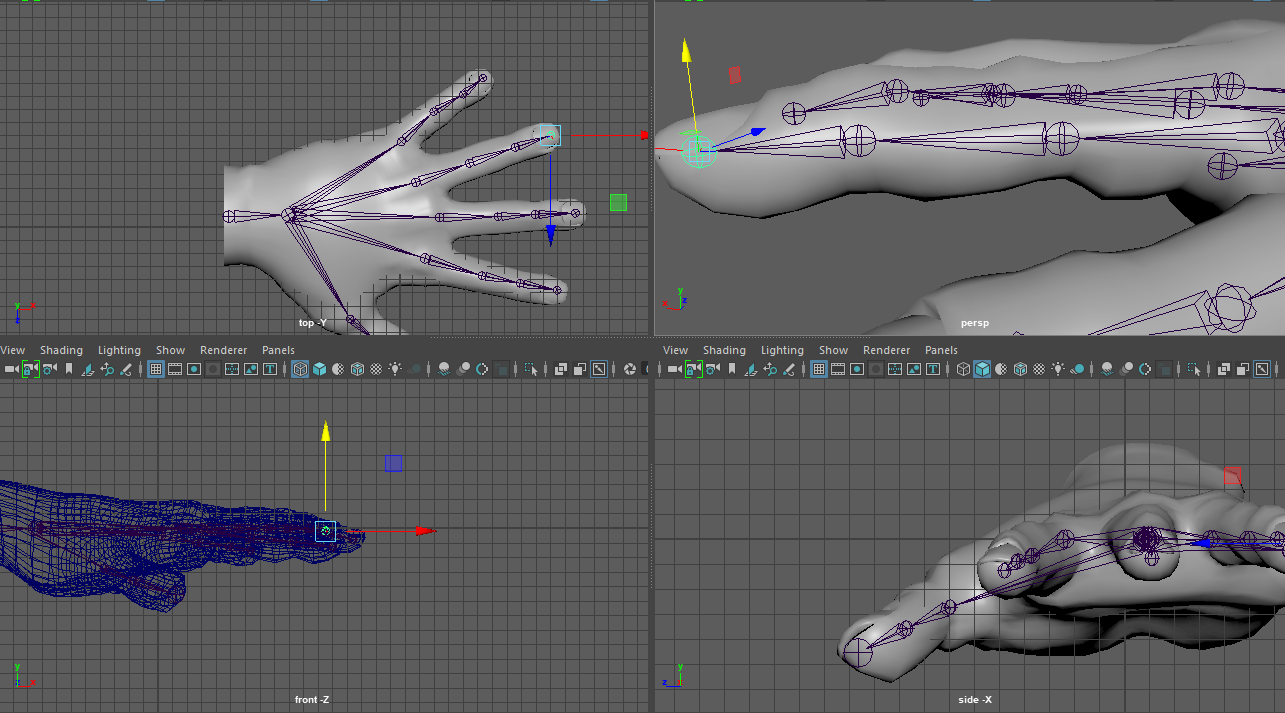
Next it actually changing the bones to match the model itself, so grabbing the bones and just changing it's position, starting at the base to the tip of each finger, since working from finger to base would require more editing on the finger sides, since each bone is a child to the bone before, meaning any movement to the parent would change the childs location. The following two pictures are the before and after bone editing.
As for the way the fingers are located, I based the bone structure on the actual way the human hand is shaped, where the bones originate from the base of the hand for all fingers.

Next up is rigging the bone itself, first you select the bone structure, the base bone. Followed by additionally selecting the hand mesh, then going to skin, and you can either go bind skin, or interactive bind skin.
Bind skin allows you to bind the skeleton with the default calculations to get to animating immediately, while interactive allows you to change the weight of each bone, so you can choose what parts of the mesh are affected. For the hand I went for Bind skin, and the default bones were enough to get the fingers and thumbs to animate properly.
The following few pictures are me simply bending the fingers and thumb to prove that the binding was successful. Although if this wasn't the case, I'd have to do the interactive bind skin, and simply mess with the weight and areas until every bone moved properly.
This is actually a pretty good technique to use if you have multiple limbs or parts of a mesh that have to move relatively realisitically. However, for my animation, I didn't use this feature, not because it was hard to do, but I just didn't have the mesh I actually needed for this.Like an AT AT or an AT ST which would require limbs to move.
This is actually a pretty good technique to use if you have multiple limbs or parts of a mesh that have to move relatively realisitically. However, for my animation, I didn't use this feature, not because it was hard to do, but I just didn't have the mesh I actually needed for this.Like an AT AT or an AT ST which would require limbs to move.


No comments:
Post a Comment